
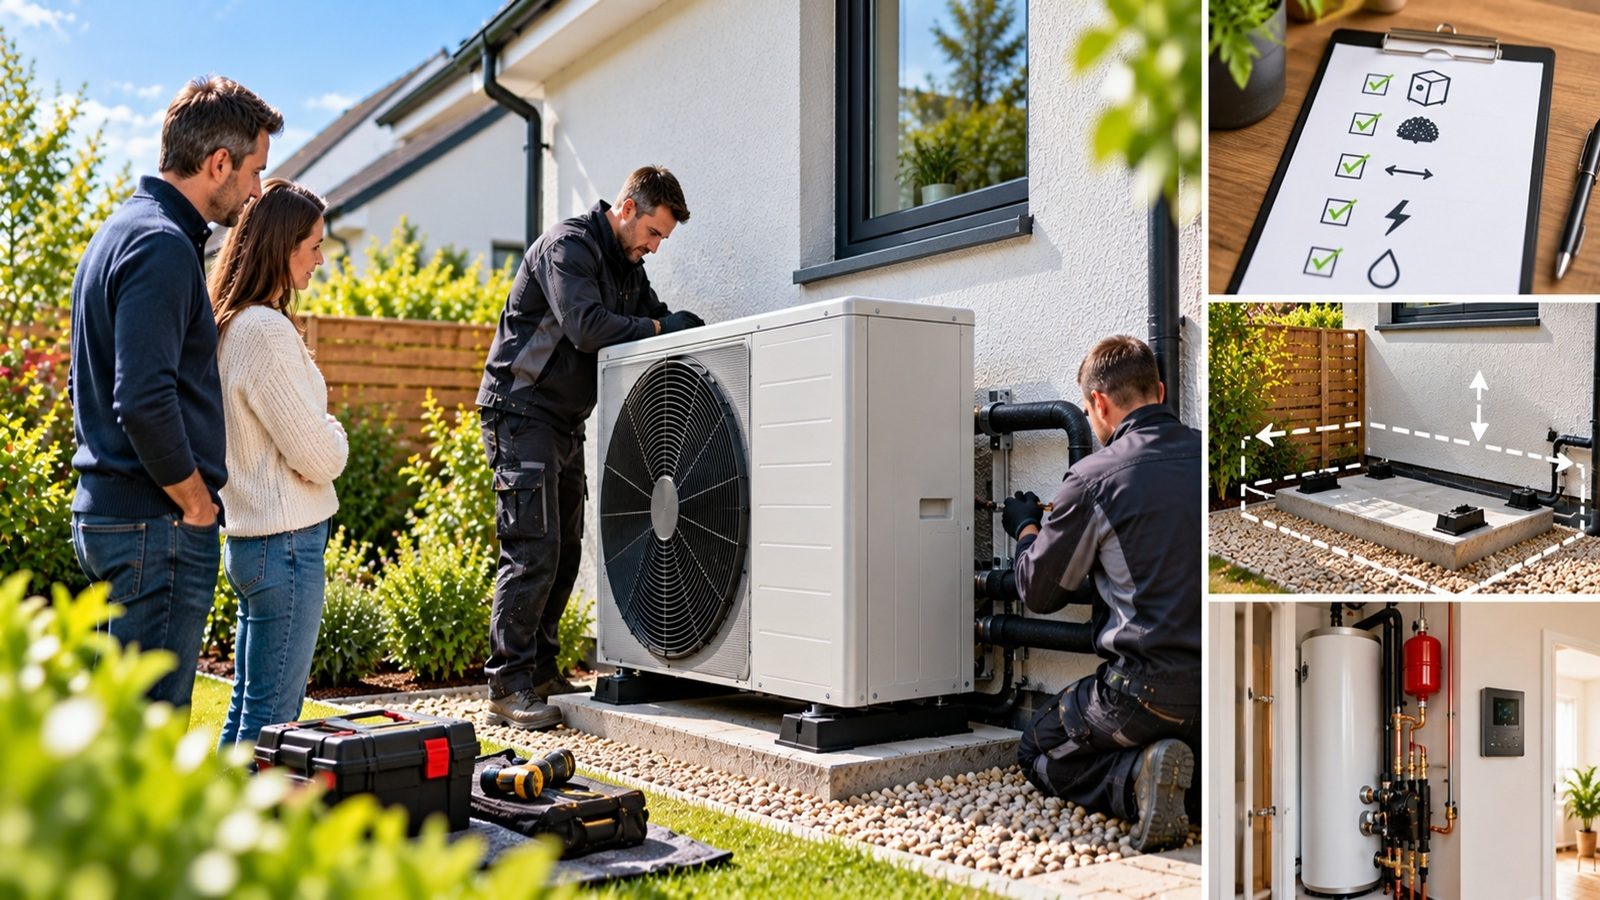
Installing an air source heat pump is an important step towards a more efficient, low-carbon heating system for your home. While your installer will manage the technical work, preparing your property beforehand can help the installation run smoothly and minimise disruption to your daily routine.
From clearing access routes to understanding what happens during commissioning, a little preparation can make the day more straightforward. Knowing what to expect also helps you ask the right questions and feel confident using your new heating system.
In this guide, Infinity explains how to prepare for air source heat pump installation day, what homeowners should arrange in advance, and what to check before the installers leave.
1. Confirm the Installation Arrangements
Before installation day, speak to your installer to confirm the planned arrival time, expected duration, and work that will take place.
The time required depends on the property, the complexity of the installation, whether existing heating equipment needs removing, and any electrical or plumbing alterations involved. Some installations may require work across more than one day.
Confirm the following details:
- When the installation team is expected to arrive.
- Which areas of the property they will need to access.
- Whether your existing boiler or heating system will be disconnected.
- Whether any electrical work or additional preparation is required.
- How long you may be without normal heating or hot water.
- Whether you need to arrange parking or access for installation equipment.
If any building work or preparatory tasks remain outstanding, clarify who is responsible for completing them.
2. Clear Access to the Outdoor Installation Area
An air source heat pump normally has an outdoor unit that draws heat from the surrounding air. Installers need sufficient space to position the unit, connect pipework, and carry out the necessary checks.
Before the team arrives, remove garden furniture, bins, tools, toys, and other obstacles from the agreed installation area.
Also consider:
- Clearing a safe route from the entrance to the installation location.
- Moving vehicles if they could obstruct access.
- Securing pets away from work areas.
- Informing installers about gates, steps, or other access difficulties.
- Keeping the planned unit location free from unnecessary clutter.
Do not move existing equipment or attempt to prepare foundations yourself unless your installer has specifically requested and explained the work.
3. Prepare the Indoor Areas
Although the outdoor unit is a visible part of the system, installation may involve significant work inside the property. The installers may need access to the existing boiler, hot water cylinder, radiators, pipework, electrical consumer unit, or heating controls.
Clear the areas around these components so the team can work safely.
If a hot water cylinder or other indoor equipment is being installed, make sure the agreed location is accessible. Move stored items from cupboards or utility rooms where necessary.
Protect valuables and move fragile objects away from work areas. Installation can involve drilling, tools, and the movement of equipment, so keeping nearby surfaces clear is sensible.
If you have particular concerns about flooring, decorations, or furniture, discuss suitable protection with the installation team before work begins.
4. Plan for Temporary Heating and Hot Water Disruption
Your existing heating system may need to be switched off or disconnected during installation. This could temporarily affect space heating and hot water.
Ask your installer how long the interruption is expected to last and whether any temporary arrangements are advisable.
If installation is taking place during colder weather, consider how you will keep vulnerable household members comfortable while the heating is unavailable. Follow your installer's advice and never use unsuitable outdoor heaters or fuel-burning appliances indoors.
You may also need to plan showers, washing, and other activities around a temporary loss of hot water.
The installer should explain when the new system is expected to be operational, although commissioning or additional work can sometimes affect the schedule.
5. Understand the Installation Process
Knowing the main stages can help you understand what the team is doing throughout the day.
Outdoor unit positioning
The installer positions the heat pump in the agreed location, taking account of the manufacturer's requirements, airflow, servicing access, noise, and the building's surroundings.
Pipework and heating connections
The team connects the unit to the heating circuit. Depending on the design, work may also involve a hot water cylinder, buffer vessel, or other system components.
Electrical connections and controls
The heat pump requires suitable electrical connections and compatible controls. Any electrical work should be completed by appropriately qualified personnel in accordance with relevant requirements.
System checks and commissioning
Once installation is complete, the installer checks the system and configures its operating settings. This process helps confirm that the equipment is functioning correctly and is set up for the property's heating requirements.
The precise sequence varies by installation, so your installer is best placed to explain the work planned for your home.
6. Prepare Questions for Your Installer
Installation day is a good opportunity to understand how your new heating system works. Rather than trying to remember everything during the handover, write down your questions beforehand.
Useful questions include:
- How do I adjust the heating schedule and target temperature?
- What do the main symbols and messages on the controller mean?
- How should I use weather compensation, if fitted?
- How do I check hot water settings?
- Which routine checks can I safely perform myself?
- What should I do if an error code appears?
- Who should I contact for servicing or technical support?
Ask the installer to demonstrate the main controls and explain any settings you are expected to manage.
7. Check the Handover Before the Team Leaves
A successful installation should include an explanation of the system, its operation, and any relevant documentation. Before the installation team leaves, make sure you know how to use the equipment safely.
Where applicable, confirm that you have received:
- The manufacturer's operating instructions.
- Details of the installed equipment and its model numbers.
- Information about system controls and heating schedules.
- Commissioning records and relevant installation documentation.
- Warranty information and servicing guidance.
- Contact details for aftercare and support.
Ask the installer to explain the recommended maintenance arrangements and what to do if the system does not operate as expected.
Do not worry if you cannot remember every technical detail immediately. Keep the documentation accessible and ask for clarification whenever necessary.
8. Ask About the Boiler Upgrade Scheme
If you are installing an eligible air source heat pump in England or Wales, you may be able to receive support through the Boiler Upgrade Scheme (BUS).
The scheme has offered grants of up to £7,500 towards eligible heat pump installations, subject to the applicable rules. The grant amount, eligibility criteria, and application requirements should always be checked against the latest official guidance.
Ask your installer whether the proposed installation may qualify and confirm who will handle the relevant application steps. Make sure you understand the agreed installation cost, any grant contribution, and any remaining amount payable before work begins.
Do not assume that every property or installation automatically qualifies. Grant eligibility depends on the scheme's current conditions.
9. What Happens After Installation Day?
Once your heat pump is running, allow yourself time to become familiar with the controls. Heat pumps often operate differently from conventional boilers, particularly when maintaining a steady indoor temperature.
Follow the installer's advice on heating schedules and temperature settings rather than making frequent, substantial adjustments straight away.
Monitor how comfortable the rooms feel, learn how to recognise normal operating behaviour, and record any persistent warnings or unexpected changes. Contact your installer if you have concerns about performance or cannot resolve an issue using the user instructions.
Conclusion
Preparing for air source heat pump installation day does not need to be complicated. Confirm the arrangements, clear access to indoor and outdoor work areas, plan for temporary heating disruption, and prepare questions about operating your new system.
Most importantly, take time during the handover to understand the controls, receive the relevant documentation, and clarify the aftercare arrangements. Good preparation can make the installation process easier and help you feel confident from the first day.
Planning an air source heat pump installation? Contact Infinity to discuss your property's heating requirements, understand the installation process, and explore whether support through the current Boiler Upgrade Scheme may be available.
Ready to improve your home's energy efficiency?
Check your eligibility for grants and book a free survey with our team.
Book Free Survey